Remember, CloudReady? The project that helps users in installing Chrome OS on Windows and Mac PCs. Now, Google has take over this project and released Chrome OS Flex (a.k.a CloudReady 2.0). It comes with support for Google services excluding Google Play Store. Apart from this, it also comes with support for Linux. As of now, the company is offering Chrome OS Flex for free to Enterprise and Education users, but regular users can also install it on their Windows and Mac PCs. The purpose of releasing Chrome OS Flex is to help users in bringing back their older devices back into the life. Now that Google is handling this project, it is highly possible that more interesting features will be added to Chrome OS Flex.
How to Install Chrome OS Flex on Your Windows PC
In case, you own a device that is of no use for you, then Chrome OS Flex is worth installing. In this blog post, we are going to share step by step instructions on how to download and install Chrome OS Flex on a Windows computer. Thing to keep in mind Make backup of your data because during the installation all the data will be deleted. Requirements To Install Chrome OS Flex
Chrome browserUSB drive with a minimum 8GB storageIntel or AMD x86-64-bit processor (Note that ARM processors is not supported by Chrome OS Flex)4GB RAM16GB or more internal storage
You can also check if your PC is compatible or not from here. If you are good, then follow these steps. Now that you made upto this line, then we can presume that your PC is compatible and your device meets all the requirements to run Chrome OS Flex.
Flash Chrome OS Flex On USB Drive
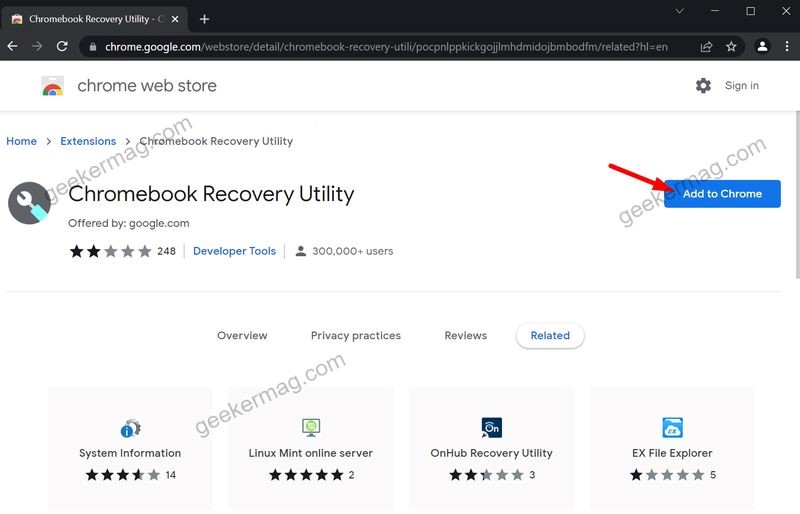
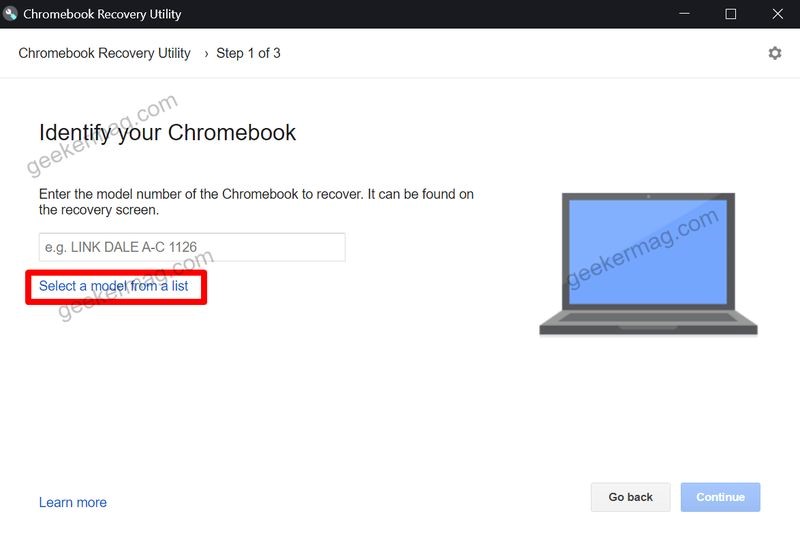
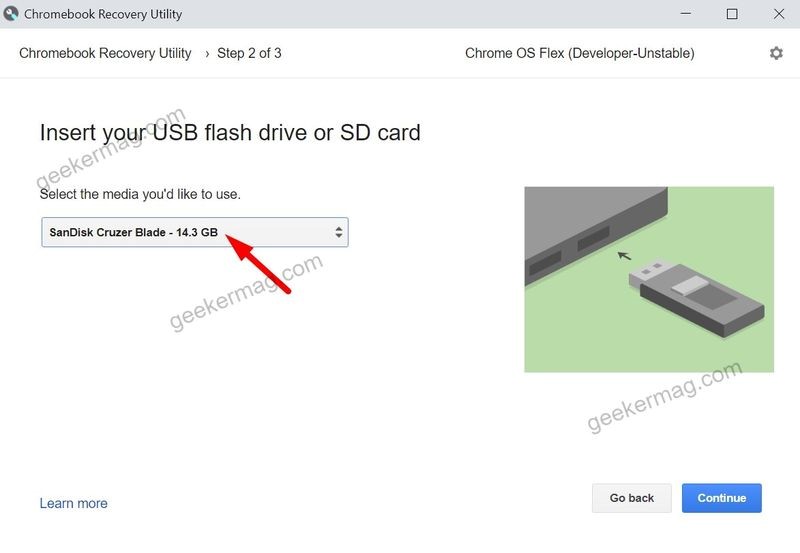
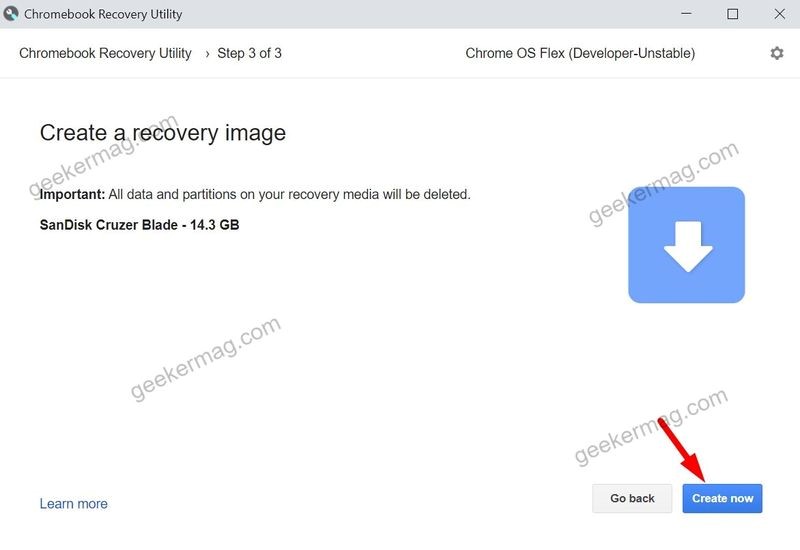
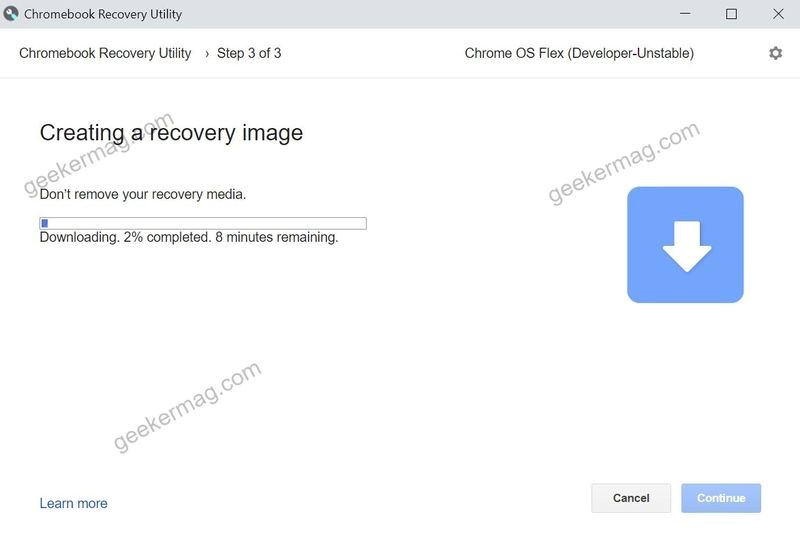
The first step is to install the Chromebook Recovery Utility Chrome extension on your Chrome browser. Click here to open the extension page and then click on add to chrome. Then click on add the extension to your chrome browser. Once installed, open the Chromebook Recovery extension on chrome browser and then attach a USB drive to your PC. Click on Get Started. Then click on the Select a model from a list option. Click on the Select a manufacturer > choose Google Chrome OS Flex. Select Chrome OS Flex (Developer-Unstable). Click on Continue. Select USB drive > Continue. Click on Get Started. Click on Create now to create a bootable Chrome OS Flex drive. Now it will download Chrome OS data. It will take some time depending on your internet. Once the process completes, you have successfully created installation media of Chrome OS Flex
Install Chrome OS Flex on Windows Laptop
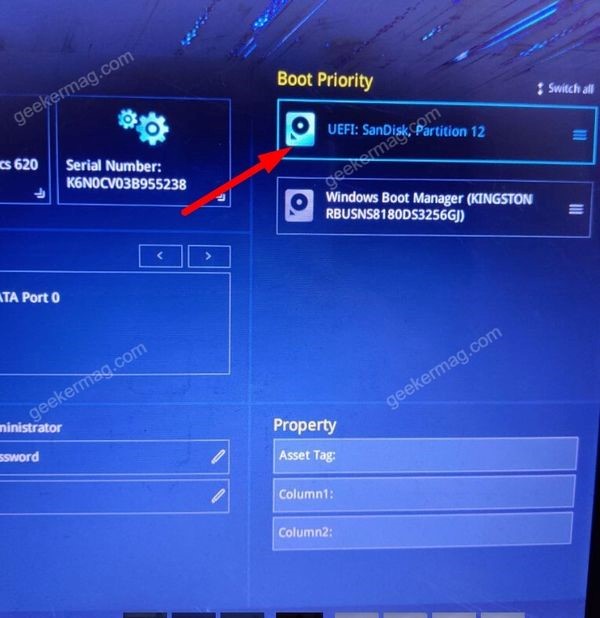
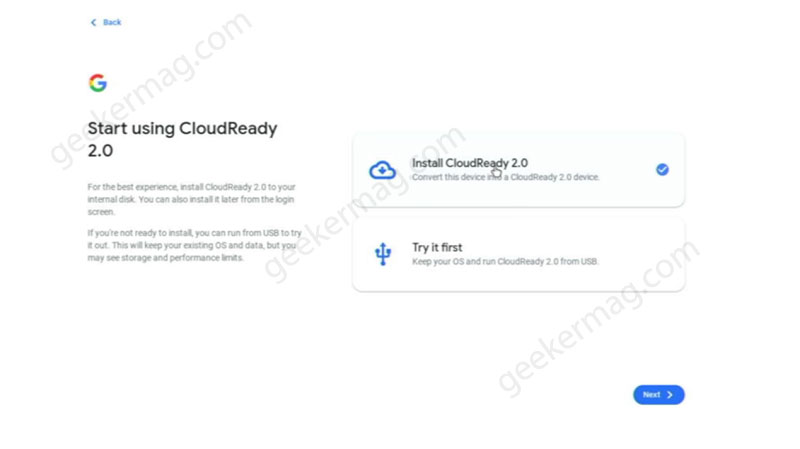
Now everything is ready. You can now install Chrome OS on your Windows. Follow these steps: Reboot your PC into boot selection mode. Different device has different keys assigned for this. Most popular keys are F8 or F10 or F12 key for boot mode. You can search the web for finding boot selection key for your device. When boot manager shows up, select your USB drive using the keyboard and press enter. Now your computer will boot from a USB drive instead of your hard disk. After some process, you will see a Welcome to CloudReady 2.0 screen appear, click on Get Started. On the next screen, you will see two options: Install CloudReady 2.0 and Try it first.
The install CloudReady 2.0 option will start the installation right away, like you perform installation of Windows OS and Mac OSX.With Try it first option, you can try Chrome OS Flex before installing it. This will run the OS right from your USB Drive. With the help of this option you can find out if everything works fine after installation which include Wi-Fi, Bluetooth, Keyboard, Mouse, and other hardware and peripheral’s.
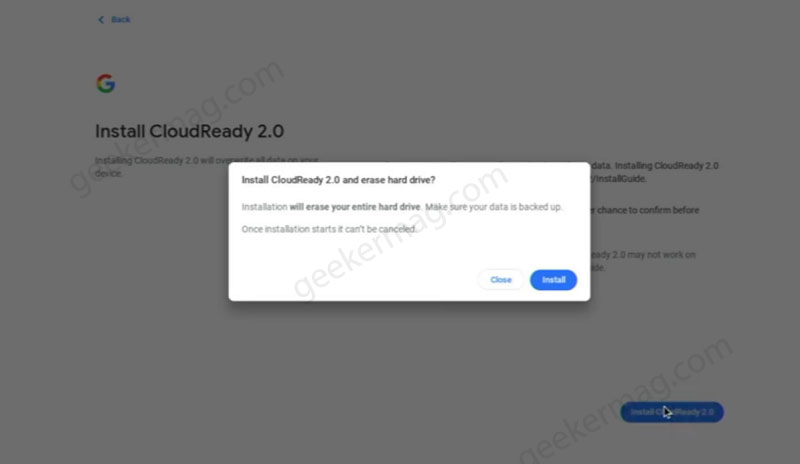
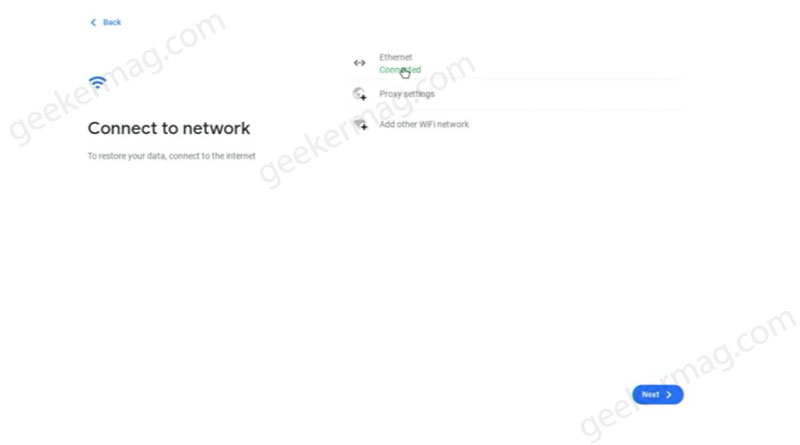
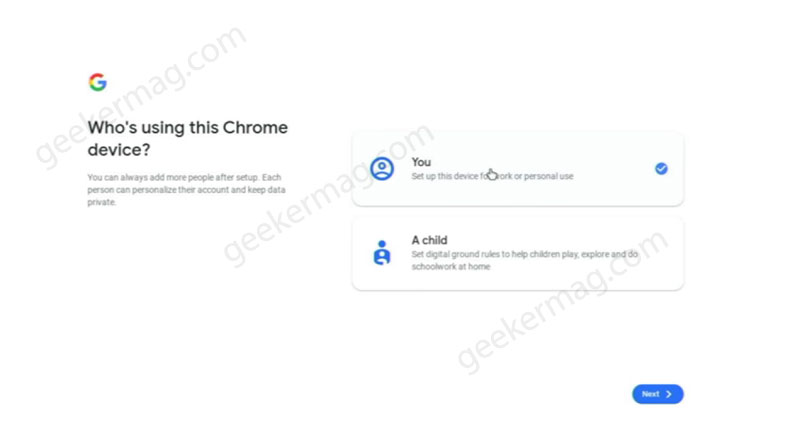
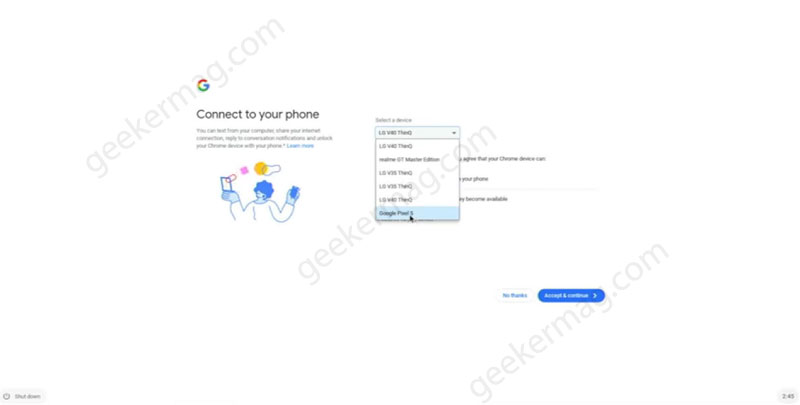
Depending on your requirement, you can select the preferred options. As I want to perform complete installation of the Chrome OS, then I select the first option i.e. Install CloudReady 2.0 and then click Next > Install CloudReady 2.0 A quick dialog box will appear telling you that all data will be gone if you proceed, click Next (If you have already backed up data as suggested above) This will start the installation of Chrome OS Flex on your Windows PC. The process will take few minutes. Once installation completes, reboot your computer. After that, you need to do some setup and you will see following screens back to back, select the options and click Next or Accept on each screen: Connect to Internet Connection Accept Google Terms and Conditions Select who’s going to use this account; Adult or Kid. Login using Google account Select Synchronization settings Review and Select Data Collection and Google Assistance Settings Make Voice Match Settings Connect your device with mobile device And finally, you will reach homescreen of Chrome OS Flex and you will see a welcome screen dialog. In case, you selected Try it first options, then you will have to follow some simple on-screen instructions to set up Chrome OS Flex and also you will need to sign in to your Google account. After trying, you feel that all is good, then launch Quick settings pane and then Signout of google account. Click on the Install Cloud Ready button After everything is all set you will reach homepage. Enjoy the new Chrome Flex OS. Are you going to install Chrome Flex OS on your Windows PC? Don’t forget to share your opinion about this OS. Also did it actually bring your old laptop back to life in the comments.
